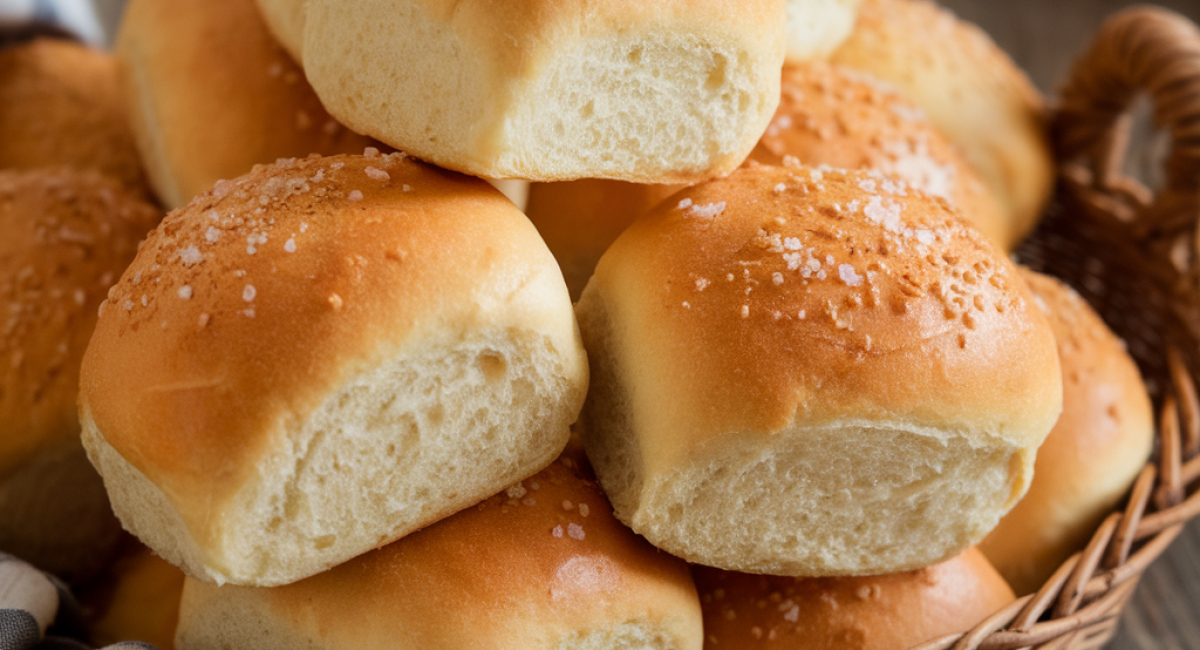
Fluffy Dinner Rolls

Description
Fluffy Dinner Rolls are the perfect blend of comfort and culinary delight, a staple in many households around the world. Originating from various cultures, these little clouds of bread have found a special place on dining tables, especially during family gatherings, holiday feasts, and cozy dinners. Their soft, pillowy texture and ever-so-slightly golden crust make them irresistible, and they are as delightful when served warm with butter as they are as a side to your favorite entrees. What makes these dinner rolls truly special is not just their taste but the joy that comes with making them. Kneading the dough, watching it rise, and finally pulling freshly baked rolls from the oven is a rewarding experience that brings a sense of accomplishment and warmth to any kitchen.
These rolls are incredibly versatile. You can enjoy them as a savory accompaniment to soups, salads, or roasted meats, or even use them to mop up delicious sauces. You can also customize them with herbs, cheese, or spices, making them a fantastic addition to any meal. And the best part? They are easier to make than you might think! Even if you’re a beginner in the kitchen, this recipe will guide you through each step, ensuring your fluffy dinner rolls turn out perfectly.
Ingredients
- For the dough:
- - 4 cups all-purpose flour
- - 2 tablespoons granulated sugar
- - 1 tablespoon salt
- - 2 teaspoons instant yeast
- - 1 cup warm milk (about 110°F or 43°C)
- - 1/2 cup unsalted butter, melted
- - 2 large eggs
- For brushing:
- - 2 tablespoons unsalted butter, melted (for brushing on top)
- Optional add-ins:
- - 1/2 cup shredded cheese (like cheddar or mozzarella)
- - 2 tablespoons fresh herbs (like rosemary or thyme), finely chopped
- - 1/4 teaspoon garlic powder or minced garlic
Preparation Method
Tips and Conclusion
For a delightful twist on these fluffy dinner rolls, consider incorporating herbs or spices into your dough. Adding a tablespoon of dried Italian herbs or a teaspoon of smoked paprika can elevate the flavor profile. You can also experiment with fillings—try placing a small cube of cheese or a dollop of pesto in the center of each roll before shaping them.
If you have leftover rolls, store them in an airtight container at room temperature. They can last for about 2 to 3 days, but for longer storage, consider freezing them. To do this, let the rolls cool completely, then place them in a freezer-safe bag. They can be frozen for up to 3 months. When you’re ready to enjoy them, simply thaw them at room temperature and warm them in the oven for a few minutes to regain their fluffiness.
Making Fluffy Dinner Rolls is not just about satisfying your hunger; it’s about creating a comforting experience that brings warmth and joy to your table. The process of baking and the anticipation of pulling golden rolls from the oven is a reward in itself. These rolls are perfect for any meal, whether they are served alongside a hearty soup, a salad, or as part of a festive dinner.
As you savor the soft, buttery goodness of these rolls, you’ll find yourself inspired to explore more recipes. Why not try pairing them with a savory herb-infused butter or a rich gravy? If you enjoyed making these rolls, you might also want to check out recipes for Garlic Knots, Cheesy Biscuits, or even Sweet Dinner Rolls for a little twist on the classic.
Feel free to share this recipe with friends and family, and encourage them to join in on the fun of baking. The joy of creating something delicious is meant to be shared! Happy baking, and don’t forget to explore more delightful recipes on our site.


