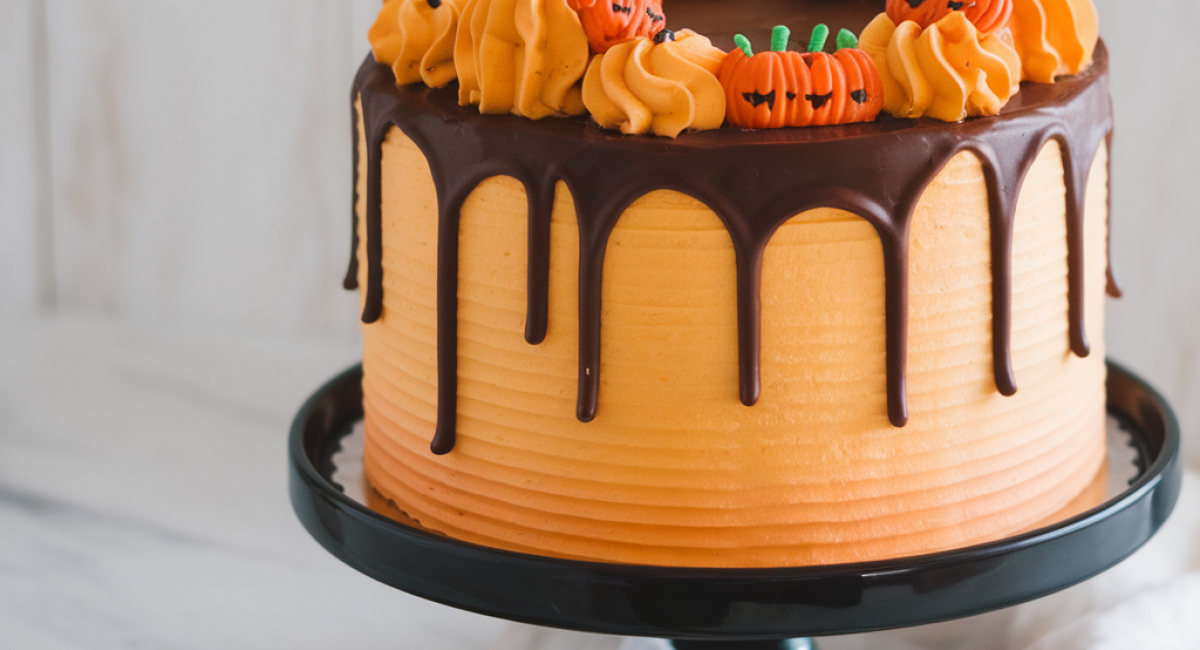
Halloween Cake

Description
Halloween is a time for spooky decorations, thrilling costumes, and, of course, delightful treats that bring a little magic to the season. One of the most cherished traditions during this festive time is baking a Halloween cake, a sweet indulgence that not only tantalizes the taste buds but also fuels the imagination. This Halloween Cake is more than just a dessert; it's a canvas for your creativity, allowing you to decorate it in playful, eerie styles that reflect the spirit of the holiday. Imagine a moist, fluffy cake layered with rich frosting, each slice revealing surprise colors that evoke the essence of fall and Halloween.
This recipe is not only easy to follow, making it perfect for bakers of all levels, but it also carries sentimental value as it brings families and friends together in the kitchen. Whether you’re hosting a Halloween party, attending a potluck, or just looking to create a festive treat for your loved ones, this cake will surely be a showstopper. Gather your ingredients, put on your favorite Halloween playlist, and let the fun begin!
Ingredients
- For the cake:
- - 2 cups all-purpose flour
- - 1 ½ cups granulated sugar
- - 1 cup unsweetened cocoa powder
- - 1 ½ teaspoons baking powder
- - 1 ½ teaspoons baking soda
- - 1 teaspoon salt
- - 2 large eggs
- - 1 cup whole milk
- - ½ cup vegetable oil
- - 2 teaspoons vanilla extract
- - 1 cup boiling water
- For the frosting:
- - 1 cup unsalted butter, softened
- - 4 cups powdered sugar
- - ½ cup unsweetened cocoa powder
- - ¼ cup heavy cream
- - 2 teaspoons vanilla extract
- - Food coloring (orange, purple, and black)
- For decoration:
- - Halloween-themed sprinkles
- - Edible eyes
- - Fondant (optional for creating spooky shapes)
Preparation Method
Tips and Conclusion
For added flair, consider serving your Halloween cake with a side of whipped cream or vanilla ice cream. This not only complements the rich chocolate flavor but also adds a delightful creaminess that pairs perfectly with the cake. If you want to make the cake ahead of time, it can be stored in an airtight container at room temperature for up to three days, or in the refrigerator for up to a week. Just be sure to let it come to room temperature before serving for the best flavor and texture.
Preparing and decorating this Halloween Cake is not just about the final product; it’s about the fun and laughter shared in the kitchen. From mixing ingredients to letting your imagination run wild with decorations, each step holds the promise of delightful memories. As you slice into this decadent cake, you’ll not only enjoy the rich chocolate flavor but also the joy of celebrating the spookiest time of the year.
If you loved this recipe, why not explore more festive ideas such as Pumpkin Spice Cupcakes or Ghostly Meringue Cookies? Don't forget to share this Halloween Cake recipe with your friends and family, and invite them to join in the fun of baking. Happy Halloween, and may your kitchen be filled with laughter, creativity, and sweet treats!


