The Classic Cherry Feeling: A Dessert Recipe for Timeless Pleasure

Description
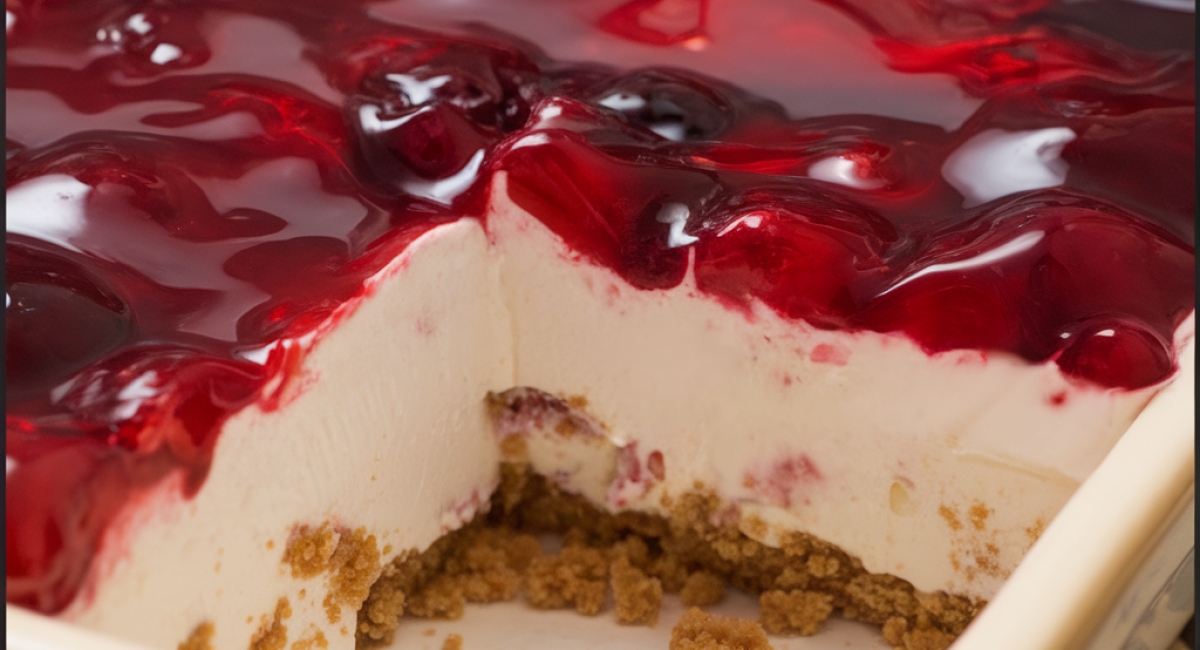
Welcome to the sweet embrace of nostalgia with "The Classic Cherry Feeling," a dessert that takes you on a delightful trip down memory lane. Imagine a luscious, creamy layer of dreamy cream cheese topping, expertly resting on a crispy graham cracker crust, all crowned with vibrant cherry pie filling. This dessert is not just a treat; it's a timeless pleasure that combines simplicity and elegance.
With its origins rooted in American kitchens, particularly during summer gatherings and holiday celebrations, this recipe resonates with anyone who savors the sweetness of life. The delicate balance of the creamy filling, the crunchy crust, and the tart cherries creates a symphony of flavors and textures. This dessert is perfect for family gatherings, potlucks, or even a quiet evening indulgence.
Each bite offers an explosion of flavor, complementing the light and airy cream cheese with a tangy cherry kick. What truly makes "The Classic Cherry Feeling" special is its versatility—you can easily modify it, enhance it, or enjoy it just as it is. Get ready to wow your friends and family, or simply indulge yourself with this delightful dessert!
Ingredients
- For the Crust:
- 7 tablespoons unsalted butter, melted
- 1 1/2 cups graham cracker crumbs (about 9 whole crackers)
- 3 tablespoons granulated sugar
- For the Cream Cheese Topping:
- 8 ounces cream cheese, softened to room temperature
- 1 cup powdered sugar
- 1 teaspoon pure vanilla extract
- 1 cup whipping cream (8 ounces), cold
- For the Cherry Topping:
- 1 can cherry pie filling (21 ounces)
- Tips for Variations and Substitutions:
- If you're looking for a gluten-free option, substitute graham cracker crumbs with gluten-free cookies or almond flour mixed with a hint of cinnamon to replicate the flavor. For a chocolate twist, consider adding some unsweetened cocoa powder to the graham cracker crumb mixture for a chocolate crust. You can also play around with different fruit toppings, like blueberries or strawberries, for a personalized dessert.
Preparation Method
1. Melt 7 tablespoons of unsalted butter in a small saucepan over low heat until smooth.
2. Crush graham crackers into fine crumbs using a food processor or a rolling pin in a zip-top bag.
3. In a mixing bowl, combine the graham cracker crumbs, melted butter, and granulated sugar until it resembles wet sand.
4. Press the mixture evenly into a pie dish or tart pan and refrigerate for 15 minutes to firm up.
5. Beat softened cream cheese in a large bowl until smooth and creamy.
6. Gradually add powdered sugar while mixing, then stir in pure vanilla extract.
7. In a separate bowl, whip cold whipping cream until stiff peaks form.
8. Gently fold the whipped cream into the cream cheese mixture until well combined.
9. Spread the cream cheese mixture evenly over the chilled graham cracker crust.
10. Pour cherry pie filling over the cream cheese layer and spread evenly.
11. Refrigerate the dessert for at least three hours or overnight for best results.
12. Optional: garnish with fresh cherries, chocolate shavings, or graham cracker crumbs before serving.
Tips and Conclusion
For those who might have leftovers (if any!), this dessert can be tightly covered with plastic wrap and stored in the refrigerator for up to three days. This means you can prepare it ahead of time for parties or special occasions! If you want to switch things up, consider creating mini versions of this dessert in individual serving cups for a fun twist. They make for perfect party treats, easy to serve at gatherings, and even more enjoyable to eat!
Embracing the joy of preparing "The Classic Cherry Feeling" is a delightful experience, from the initial mixing of ingredients to the final presentation of your stunning dessert. The creamy texture, crunchy crust, and tangy cherries create a visual and flavorful feast that will surely please anyone lucky enough to enjoy it.
Once you’ve mastered this recipe, why not explore our other delightful dessert creations? From luscious chocolate mousse to refreshing lemon tarts, we have a world of indulgent recipes waiting for you to discover. Feel free to share this recipe with friends and family—they'll undoubtedly thank you for it! We hope to see you back here soon, exploring more sweet surprises and culinary delights. Happy baking!


