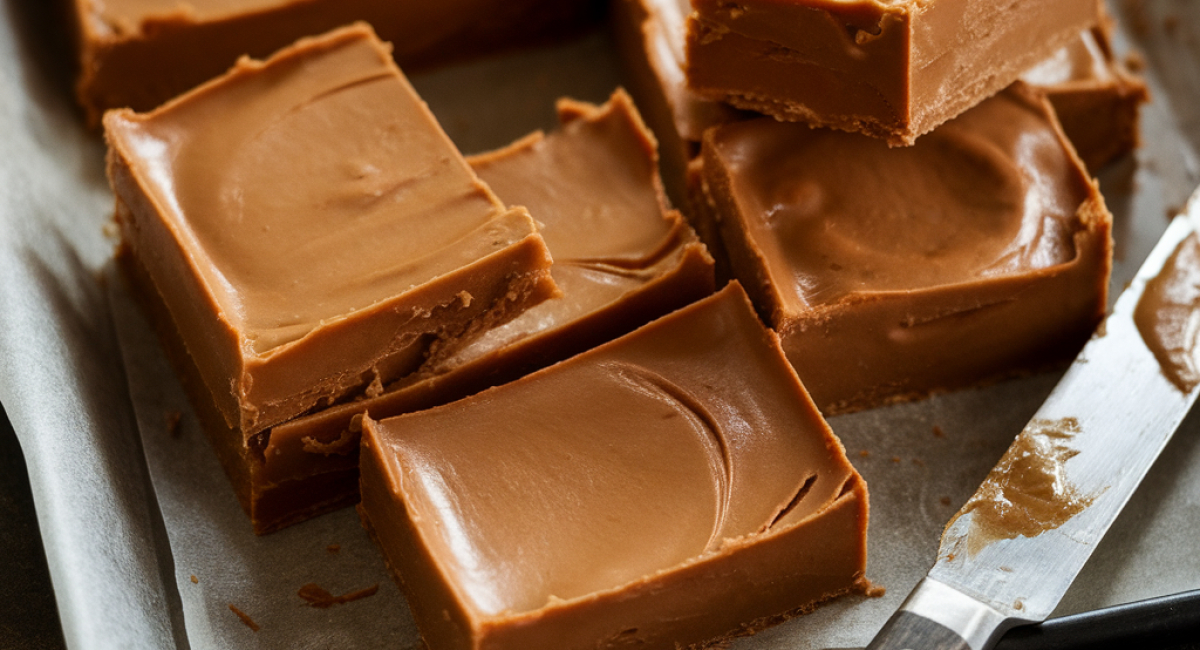
There’s something undeniably magical about old-fashioned fudge. This delightful treat is a harmonious blend of sweetness and nostalgia, often evoking memories of family gatherings, holiday celebrations, and cozy afternoons spent in the kitchen. Originating in the United States, fudge has been a beloved confectionery since the late 19th century, and its charm remains timeless. The velvety texture, rich chocolate flavor, and melt-in-your-mouth quality make it a favorite for both young and old. Preparing fudge is a delightful experience, allowing you to connect with tradition while creating something truly special. The process is surprisingly simple, requiring just a few key ingredients and a bit of patience. The satisfaction of cutting into a perfectly set batch and sharing it with loved ones adds to the joy of making this classic treat.
To start your journey towards creating delightful old-fashioned fudge, gather all your ingredients and tools. You will need a heavy-bottomed saucepan, a wooden spoon or spatula, a candy thermometer, and an 8x8-inch baking dish lined with parchment paper for easy removal.
Begin by combining the granulated sugar, cocoa powder, and salt in your heavy-bottomed saucepan. Stir these dry ingredients together until they are thoroughly mixed. This step is crucial as it helps ensure that the cocoa powder is evenly distributed throughout the sugar, leading to a more consistent flavor in your fudge.
Next, pour in the milk and add the unsalted butter to the mixture. Place the saucepan over medium heat and stir gently to combine the ingredients. As the mixture begins to heat up, it’s important to keep stirring. This will prevent the sugar from crystallizing and ensure a smooth texture in your final product.
Continue to cook the mixture, stirring constantly, until it comes to a gentle boil. Once it reaches a boil, reduce the heat slightly while still maintaining a steady simmer. At this point, you can insert your candy thermometer into the mixture. You’re aiming for a temperature of about 240°F, known as the soft-ball stage. This is a critical stage in the fudge-making process, so keep an eye on the thermometer.
While the fudge is cooking, take a moment to prepare your baking dish. Line it with parchment paper, allowing some overhang on the sides. This will make it easier to lift out the fudge once it has cooled and set. If you’re feeling adventurous, you might consider greasing the parchment paper lightly with butter or cooking spray to ensure easy removal.
Once the mixture reaches the desired temperature, remove it from the heat. This is where the magic happens. Allow the fudge to cool for about 5 minutes without stirring. This cooling period is essential as it helps the fudge develop its rich texture.
After the resting time, add the vanilla extract and any optional ingredients, such as chopped nuts or chocolate chips. The vanilla extract will enhance the overall flavor, while the nuts can add a delightful crunch. Stir gently to incorporate the additional ingredients, being careful not to overmix.
Now comes the fun part: beating the fudge! Using your wooden spoon or spatula, stir the mixture vigorously until it becomes thick and starts to lose its sheen. This process can take anywhere from 5 to 10 minutes, and it’s a great workout for your arms! You’ll know it’s ready when it holds its shape and begins to form a smooth consistency.
Once you’ve achieved the perfect texture, pour the fudge into your prepared baking dish. Use a spatula to spread it evenly into the corners of the dish. If you like, you can sprinkle additional nuts or chocolate chips on top for added decoration. Allow the fudge to cool at room temperature for several hours, or until it has completely set.
After the fudge has cooled, lift it out of the baking dish using the parchment paper overhang. Place it on a cutting board and use a sharp knife to cut it into squares. The size is entirely up to you, but bite-sized pieces are always a hit!
For a delightful twist on traditional fudge, consider adding flavor variations. You can experiment with different extracts, such as almond or peppermint, to create unique combinations. Another fantastic option is to swirl in some peanut butter or caramel for an unexpected flavor explosion. If you plan to store your fudge, it’s best kept in an airtight container at room temperature for up to two weeks. For longer storage, consider freezing the fudge, wrapped tightly in plastic wrap and then in aluminum foil, where it can last for several months.
Creating old-fashioned fudge is not just about making a sweet treat; it’s about creating memories and sharing joy with those you love. The process, from stirring the mixture to cutting it into squares, is filled with anticipation and excitement. As you savor each rich bite, you’ll be reminded of the warmth of home and the joy of tradition. Don’t hesitate to share this recipe with friends and family, inviting them to create their own batches of fudge. If you enjoyed this recipe, be sure to explore others on our site, such as classic brownies, creamy caramel, or even decadent chocolate truffles. Your journey through the world of sweets is just beginning, and there’s so much more to discover!