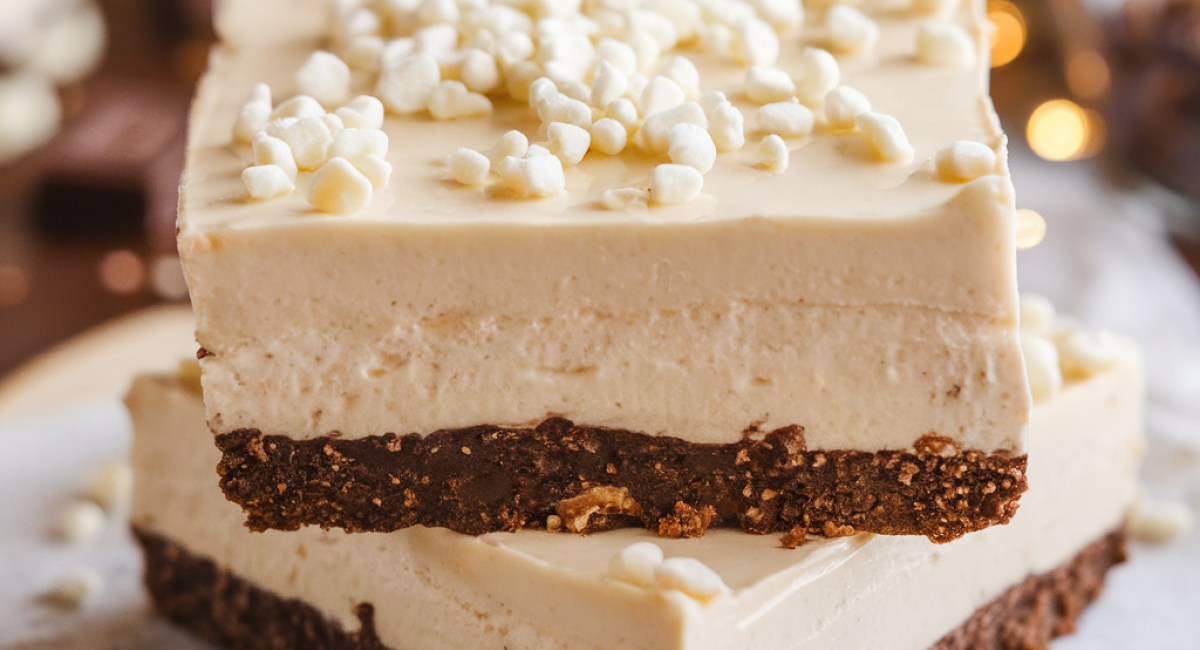
Salted Caramel Chocolate Sugar Cookie Bars
Description
Welcome to a delightful journey of sweetness and savor! Allow yourself to be enchanted by the luscious Salted Caramel Chocolate Sugar Cookie Bars, a treat that perfectly marries rich, dark cocoa chocolate, creamy salted caramel, and the wholesome goodness of buttery sugar cookies. These bars boast a perfect balance of flavors and textures, creating a blissful bite that might just make your taste buds dance with joy.
With origins in the classic sugar cookie, these bars elevate the traditional recipe into something incredibly indulgent and visually appealing. Perfect for family gatherings, special occasions, or simply those moments when you're craving a decadent dessert, these bars promise an experience that will have everyone reaching for seconds.
What's more, they're incredibly simple to prepare. You don’t need to be a seasoned baker to whip up these delightful bars. Whether you’re a beginner experimenting in the kitchen or an experienced cook looking to impress, this recipe is designed to be straightforward and fulfilling. Trust us, as the aromas waft through your kitchen and the first bite melts in your mouth, you’ll find this treat to be more than just a dessert – it’s an experience to cherish!
So roll up your sleeves, gather your ingredients, and let’s create something magical that your loved ones will adore.
Ingredients
- For the Dough:
- - 1 cup unsalted butter, softened
- - 1 cup granulated sugar
- - 1 cup brown sugar, packed
- - 2 large eggs
- - 1 teaspoon pure vanilla extract
- - 2 tablespoons caramel coffee creamer (or milk, if you prefer)
- - 3 cups all-purpose flour
- - ½ cup dark cocoa powder
- - 1 teaspoon baking powder
- - ½ teaspoon salt
- For the Topping:
- - 1 cup salted caramel frosting (store-bought or homemade)
- - Coarse ground sea salt, for sprinkling
Preparation Method
1. Preheat the oven to 375 degrees Fahrenheit and spray a 9x13-inch baking pan with nonstick cooking spray.
2. In a large mixing bowl, beat softened unsalted butter with granulated and brown sugars until creamy and fluffy.
3. Add two large eggs, vanilla extract, and caramel coffee creamer to the butter mixture and beat until blended.
4. In another bowl, whisk together all-purpose flour, dark cocoa powder, baking powder, and salt until smooth.
5. Gradually mix the dry ingredients into the wet ingredients until a soft dough forms.
6. Transfer the dough to the prepared baking pan and press it evenly into the bottom.
7. Bake in the preheated oven for 14 to 15 minutes, until the edges are firm and the center is slightly soft.
8. Let the cookie bars cool in the pan on a wire rack for 20 to 30 minutes.
9. Spread a layer of salted caramel frosting evenly over the cooled bars.
10. Sprinkle coarse ground sea salt over the frosting.
11. Allow the bars to cool completely before cutting into 24 squares.
Tips and Conclusion
For the ultimate indulgence, consider pairing these salted caramel chocolate sugar cookie bars with a scoop of vanilla ice cream or a drizzle of warm chocolate sauce. Not only does this add another layer of flavor, but the cold creaminess of the ice cream beautifully contrasts the warm, fudgy bars. Also, if you want a variation for special occasions, try adding chopped nuts such as pecans or walnuts into the dough for an added crunch factor. They can also be dressed up with a sprinkle of edible glitter or a swirl of additional caramel for a more festive presentation.
When it comes to storing your delicious creations, keep them sealed in an airtight container at room temperature for up to five days. If you've baked up a mountain of these babies, know that they freeze beautifully! Simply wrap the individual bars in plastic wrap, and then place them in a heavy-duty freezer bag to enjoy later.
In summary, making your own Salted Caramel Chocolate Sugar Cookie Bars promises an unforgettable experience filled with mouthwatering flavors and delightful textures. The process is as enjoyable as indulging in the final product. From whipping up the buttery dough to draping that divine frosting, you’ll find each step an adventure.
We hope these bars become a beloved recipe in your collection! They’ll surely impress friends and family alike, sparking joy and satisfying sweet cravings. Don’t stop here! Explore more of our delightful recipes to keep that baking inspiration flowing. Whether you have a sweet tooth for other decadent desserts or want savory snack ideas, we’ve got you covered! And don’t forget to share your baking experience with others – your friends will thank you for introducing them to this delicious treat! Happy baking!

