Pecan CaramelBars
Description
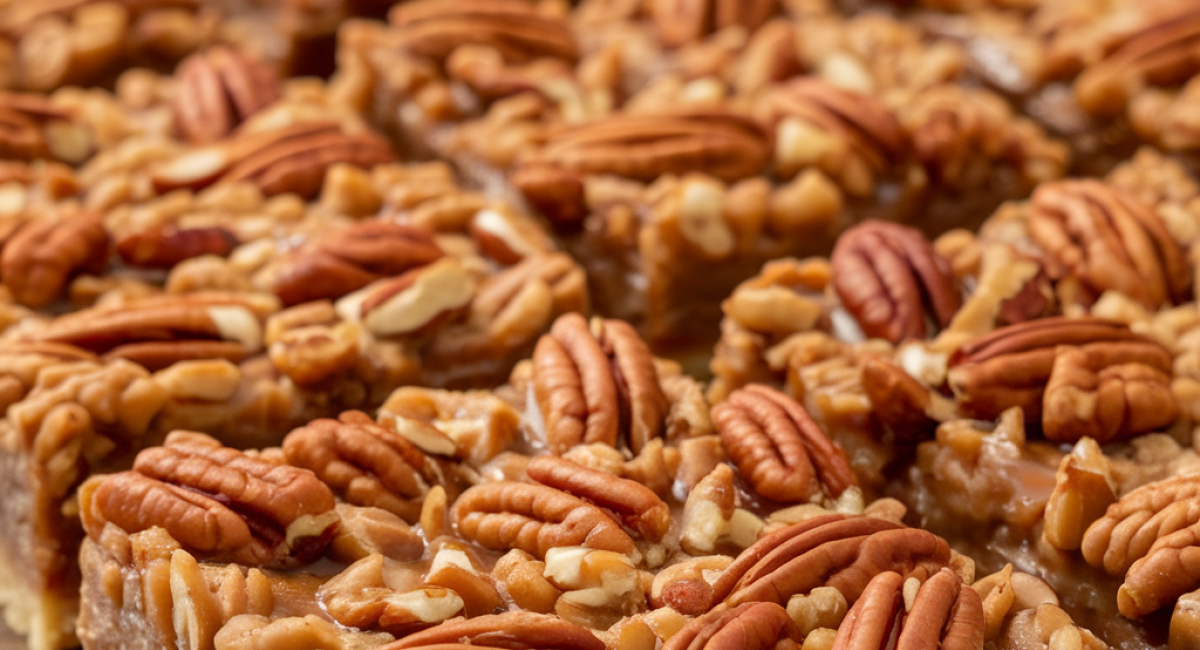
There's something truly enchanting about the combination of buttery, sweet caramel and the rich, nutty crunch of pecans. These Pecan Caramel Bars evoke warmth and comfort and are undeniably an ideal treat to share with loved ones, elevating any gathering or cozy evening at home. Originating from Southern cuisine, where pecans are a staple, these bars bring a touch of heritage to your dessert table.
From the moment you start mixing the ingredients, the kitchen fills with delightful aromas that will have everyone eagerly anticipating the moment you take these bars out of the oven. These treats not only taste divine but are also easy to prepare, making them perfect for bakers of all levels. With a tender, crumbly crust topped with gooey caramel, crunchy pecans, and a luscious layer of chocolate, you're in for a true indulgent experience.
If you're someone who loves to create memorable moments in the kitchen or simply wishes to relish a sweet treat without much fuss, look no further. These Pecan Caramel Bars are sure to become a cherished addition to your repertoire, and once you take that first bite, you’ll understand why they are so beloved.
Ingredients
- For the crust:
- 1 cup all-purpose flour
- 1/2 cup unsalted butter, melted
- 1/4 cup packed brown sugar
- For the filling:
- 1 cup chopped pecans
- 1/2 cup caramel sauce
- For the topping:
- 1/2 cup semi-sweet chocolate chips
- Feel free to customize this recipe to suit your taste! For instance, if you're in the mood for a richer flavor, try substituting half of the all-purpose flour with almond flour. Toasting the pecans before adding them will enhance their nutty flavor and aroma, making the dessert even more irresistible. If you prefer your dessert less sweet, opting for dark chocolate chips instead of semi-sweet can provide a delicious contrast to the elements of sweetness.
Preparation Method
1. Prepare a 9x9-inch baking dish by lining it with parchment paper and preheat the oven to 350°F (175°C).
2. In a bowl, mix all-purpose flour, melted unsalted butter, and packed brown sugar until a soft, crumbly dough forms.
3. Press the dough evenly into the bottom of the prepared baking dish to create a sturdy crust.
4. Sprinkle finely chopped pecans over the crust and gently press them in.
5. Drizzle half a cup of caramel sauce over the pecans and spread it evenly.
6. Bake in the preheated oven for 20-25 minutes until the crust is golden and the caramel is bubbling.
7. Remove from the oven and sprinkle semi-sweet chocolate chips over the hot bars, letting them melt for 2-3 minutes.
8. Spread the melted chocolate evenly over the top.
9. Allow the bars to cool completely, or refrigerate for 30-45 minutes to speed up cooling.
10. Once cooled and set, lift the bars out using the parchment overhang and cut into squares or rectangles.
Tips and Conclusion
For a delightful twist, consider adding a pinch of sea salt on top of the chocolate layer before it sets. The hint of salt perfectly complements the sweetness of the caramel and chocolate, creating an even more enticing flavor profile. If you want to make these bars dairy-free, simply substitute the butter with coconut oil and choose dairy-free chocolate chips.
To make your Pecan Caramel Bars last longer, store them in an airtight container at room temperature for up to several days, or robustly freeze them. Just remember to layer them with parchment paper to avoid sticking.
The experience of making these Pecan Caramel Bars is truly a joyful one, filled with simple yet rewarding steps to create a delightful dessert guaranteed to impress family and friends alike. Each layer brings a burst of flavor and is a perfect balance of sweetness and nutty crunch. Whether you serve them at a gathering or enjoy them as a personal indulgence, these bars are sure to put a smile on your face.
Don’t let your culinary journey end here! Explore other scrumptious recipes on our site that celebrate flavors and simplicity in the kitchen. Perhaps you'd like to try your hand at decadent brownies, comforting pecan pie, or maybe even something healthier like a granola bar? The options are endless, and each recipe promises to enhance your cooking skills while satisfying your cravings.
Thank you for joining me in making such a delicious treat! Don't hesitate to share this recipe with family and friends and invite them to join you in celebrating the wonderful world of baking! Happy cooking!
