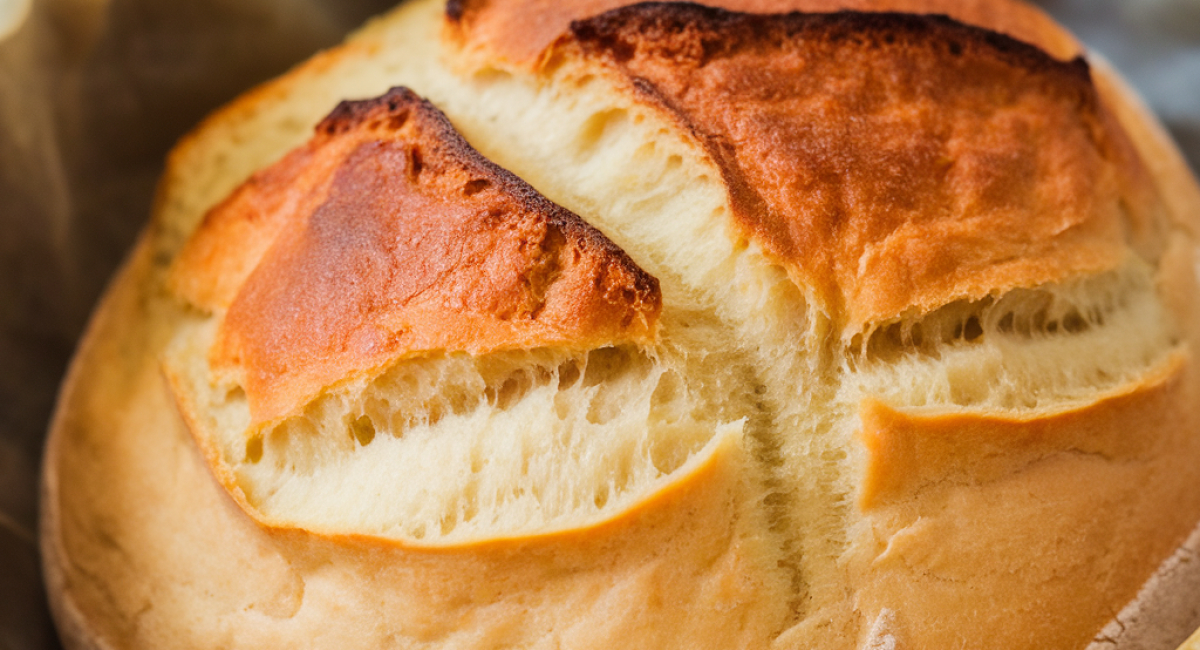
I can't believe this just takes 4 ingredients to make! No kneading either! What?!

Description
Imagine the wonderful aroma of freshly baked bread wafting through your home, creating an inviting atmosphere that beckons family and friends alike to gather around the kitchen table. This no-knead bread, with its crackly crust and soft, chewy interior, is not just a loaf; it's an experience—a piece of artisanal charm that exudes warmth and comfort. The beauty of this recipe lies in its simplicity: just four ingredients and minimal effort are required to create a bread that tastes like it came from a high-end bakery.
Originating from the age-old traditions of bread-making, this method allows anyone to become a bread baker without the need for extensive baking skills or elaborate equipment. What makes this recipe truly special is its versatility—once you master the basic technique, the door is wide open for countless variations. Add herbs, cheese, or seeds to customize it to your liking! For home bakers and bread enthusiasts, this no-knead bread is a gateway to a world of baking possibilities, and it will have you wondering how something so delightful could come from such simple beginnings.
So, grab your ingredients and step into the comforting world of homemade bread. Let’s get started!
Ingredients
- 3 cups all-purpose flour
- 1/2 teaspoon active dry yeast
- 1 3/4 teaspoons salt
- 1 1/2 cups warm water
- Variations and Substitutions:
- This recipe is just the beginning. Feel free to play with the flavor by adding:
- - Fresh herbs like rosemary or thyme for a fragrant touch
- - Grated cheese (like Parmesan or Cheddar) for a savory spin
- - Seeds such as sunflower or sesame for a delightful crunch
- - A tablespoon of honey or sugar for a hint of sweetness
- If you don’t have all-purpose flour, you can substitute with bread flour, although it may yield a chewier texture. For a gluten-free option, consider using a gluten-free flour blend. Just remember, adjusting the hydration level may be necessary with different flours, so keep an eye on your dough consistency.
Preparation Method
1. Gather a large mixing bowl.
2. Measure and mix all-purpose flour, yeast, and salt in the bowl.
3. Measure 1 and a half cups of warm water and pour it into the dry mixture while stirring gently until a shaggy dough forms.
4. Cover the bowl with plastic wrap or a kitchen towel and let it sit at room temperature for 12 to 18 hours until bubbles appear.
5. Preheat the oven to 450 degrees Fahrenheit and place a Dutch oven or heavy pot with a lid inside to heat.
6. Turn the dough onto a floured surface, shape it into a ball, and cover it loosely with plastic wrap for 30 minutes.
7. Remove the heated pot from the oven and place the dough inside, covering it with the lid.
8. Bake for 30 minutes covered, then remove the lid and bake for an additional 15 to 20 minutes until golden brown.
9. Remove the pot from the oven and let the bread cool on a wire rack for 15 to 20 minutes before slicing.
Tips and Conclusion
To elevate your bread experience, consider serving this homemade loaf with a delectable side. A simple dipping oil made with olive oil, balsamic vinegar, and a sprinkle of sea salt makes a delightful accompaniment. For a heartier option, serve it with a wedge of your favorite cheese and some cured meats. This no-knead bread is an excellent choice as an appetizer for gatherings or as a comforting addition to soups and stews.
If you happen to have leftovers (though they may be scarce), keep your bread fresh by wrapping it in a kitchen towel and storing it at room temperature. Avoid plastic bags unless you want a doughy texture; bread loves to breathe! If you have a significant amount left, slice and freeze portions for later enjoyment. It freezes beautifully and can be enjoyed toasted or an oven warmed straight from the freezer.
In just a handful of ingredients and a little patience, you’ve crafted an exquisite loaf of homemade no-knead bread, transforming simple pantry staples into a beautiful centerpiece for any meal. The joy of baking your bread is not just in the delicious end product but also in the process itself—the anticipation, the scents, and the satisfaction of knowing you created something extraordinary with your own hands.
Now that you’re well-versed in this no-knead bread technique, why not explore even further? Try your hand at experimenting with variations or dive into other bread recipes on our site that will enrich your baking repertoire. Share this recipe with your friends, and encourage them to join you in your baking adventures! Continue browsing, and discover a treasure trove of delightful recipes to bring warmth and joy to your kitchen. Happy baking!


