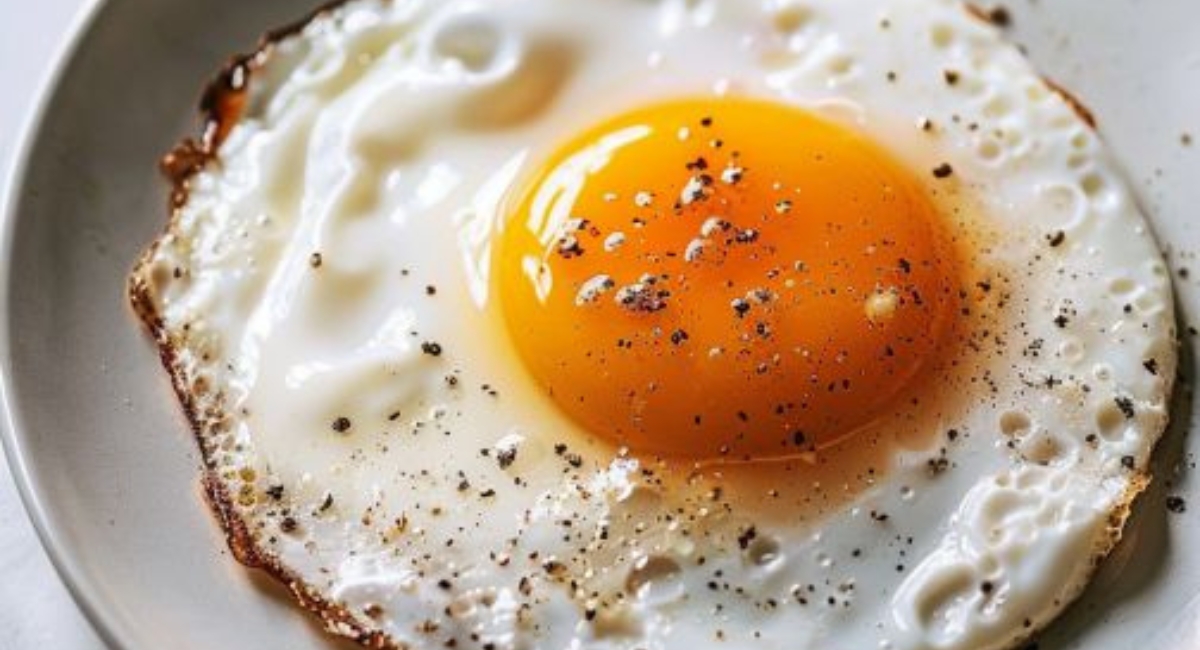
My mother-in-law and I can't agree on what's an over easy egg

Description
Over-easy eggs are a breakfast staple, beloved for their runny yolk and lightly cooked white. But what exactly makes an egg “over-easy”? The term can be confusing, as it describes an egg that is fried on both sides but with the yolk still runny. If you're wondering how to make the perfect over-easy egg, look no further! Whether you're having a debate over what qualifies as “over-easy” or just want to master this classic technique, this recipe will guide you to egg perfection
Ingredients
- 2 large eggs (preferably fresh)
- 1 tablespoon butter (or oil of your choice)
- Salt, to taste
- Pepper, to taste
Preparation Method
1. Heat a nonstick skillet over medium-low heat and add 1 tablespoon of butter or oil until melted.
2. Crack 2 large eggs into the skillet, ensuring the yolks stay intact.
3. Cook the eggs undisturbed for 2-3 minutes until the whites set but are not browned.
4. Lightly sprinkle salt and pepper over the eggs while cooking.
5. Gently flip the eggs when the whites are almost set, being careful not to break the yolks.
6. Cook the flipped eggs for 15-30 seconds, depending on your desired yolk consistency.
7. Remove the eggs from the skillet and serve immediately with your favorite sides.
Tips and Conclusion
Bonus Tip:
For an even more flavorful result, consider adding a sprinkle of fresh herbs like chives or parsley on top of your eggs before serving. You can also cook the eggs in bacon fat or olive oil for a richer taste. If you’re feeling adventurous, try sprinkling a pinch of smoked paprika or a dash of hot sauce over the eggs for a little extra kick!
Conclusion:
Making the perfect over-easy egg is all about mastering the balance between the runny yolk and the set whites. With a few simple techniques and the right heat control, you can easily achieve the ideal texture every time. Whether you’re a fan of dipping toast into the yolk or prefer your eggs with a bit of seasoning, this recipe will help you make over-easy eggs like a pro. Now, no more debates about what qualifies as “over-easy”—you’ve got it down!


