Pecan Bars Recipe
Description
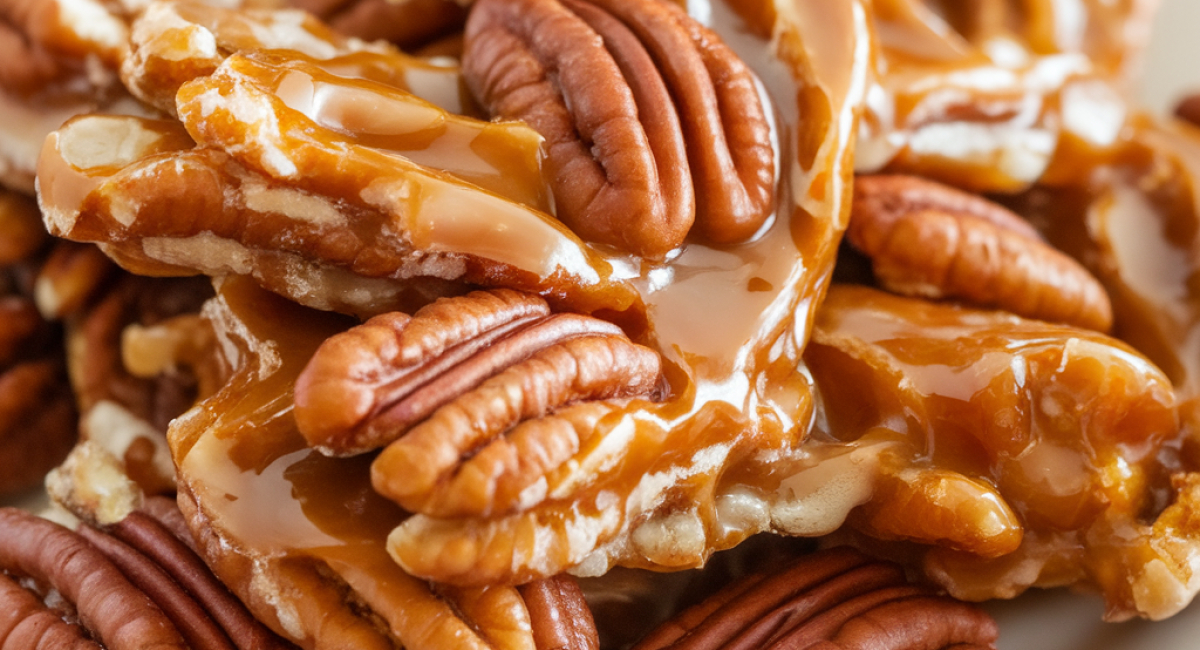
Pecan bars are a timeless treat that beautifully marries the rich, buttery flavor of a traditional pecan pie with the irresistible crunch of a cookie bar. Originating from the Southern United States, where pecans flourish, this recipe captures the essence of homemade goodness and comfort. With its crispy crust and sweet, nutty filling, these bars are perfect for any occasion, from holiday gatherings to casual afternoon snacks. Imagine pulling a tray of golden-brown pecan bars from the oven—the aroma wafting through your kitchen, beckoning family and friends to gather around. Whether you serve them warm or at room temperature, each bite promises a delightful crunch followed by the sweet embrace of caramelized pecans, making it a favorite among dessert lovers. The best part? They are easy to prepare, allowing you to create this delightful dish even if you're a novice baker. Let’s dive into the specific ingredients and the step-by-step preparation so you can create your own version of this beloved classic.
Ingredients
- *For the Crust:*
- 2 and 1/3 cups all-purpose flour
- 1/2 cup light brown sugar, packed
- 1.5 teaspoons cornstarch
- 3/4 teaspoon salt
- 1 cup unsalted butter, cold and cut into small pieces
- 2 tablespoons heavy cream
- *For the Filling:*
- 1/4 cup unsalted butter
- 1 cup light brown sugar, packed
- 3 tablespoons all-purpose flour
- 3 large eggs, room temperature
- 1 cup light corn syrup
- 1.5 teaspoons vanilla extract
- 3/4 teaspoon salt
- 2.5 cups chopped pecans
Preparation Method
**Simplified Recipe Steps**
**Preparing the Crust**
1. Preheat the oven to 350°F or 175°C.
2. Line a 9 by 13 inch baking dish with parchment paper or aluminum foil.
3. In a food processor, mix two and one-third cups of flour, half a cup of brown sugar, one and a half teaspoons of cornstarch, and three-quarters of a teaspoon of salt until blended.
4. Add one cup of cold butter cut into pieces and pulse until the mixture resembles coarse crumbs.
5. Add two tablespoons of heavy cream and pulse until the dough holds together when pressed.
6. Press the mixture evenly into the bottom of the prepared baking pan.
7. Bake for about 25 minutes until light golden brown.
**Preparing the Filling**
1. Melt one-quarter cup of butter and let it cool.
2. In a bowl, whisk together one cup of brown sugar and three tablespoons of flour until smooth.
3. Add three eggs, one cup of corn syrup, one and a half teaspoons of vanilla, and three-quarters of a teaspoon of salt, then mix well.
4. Gradually stir in the cooled melted butter until fully combined.
5. Fold in two and a half cups of chopped pecans.
**Assembling the Pecan Bars**
1. Pour the pecan filling over the baked crust and spread evenly.
2. Bake for an additional 25 to 30 minutes until the filling is set and bubbling around the edges.
3. Cool the bars in the pan at room temperature for 4 to 6 hours or overnight.
4. Lift the bars from the pan using the parchment or foil and cut into squares before serving.
Tips and Conclusion
For an exciting twist, consider adding a splash of bourbon or maple syrup to the filling for an extra flavor dimension. These ingredients can deepen the overall taste and offer a unique profile that elevates your pecan bars further. If you're looking to brighten the flavor, a hint of orange zest can provide a refreshing contrast to the rich filling.
Store the bars in an airtight container in the refrigerator for up to a week. You can also freeze them for longer storage—just make sure to cut them into squares and wrap individually before freezing. When you’re ready to indulge, simply thaw them at room temperature for a delightful treat that tastes as fresh as the day you made them.
Pecan bars are not just a dessert; they are an experience—a wonderful blend of textures and flavors that bring warmth and joy to any moment. They are perfect for gatherings, potlucks, or simply as a sweet treat for yourself. Imagine the smiles they’ll bring when you serve them at a dinner party or during a cozy family gathering. Don’t forget to explore more delectable recipes on our site, from comforting chocolate chip cookies to exquisite cheesecakes, that will surely enhance your dessert repertoire. Share this recipe with friends and family, and let the joy of baking bring everyone together. Your kitchen will soon become a hub of delightful conversations and sweet memories. Happy baking!
