Pineapple Cheese Ball

Description
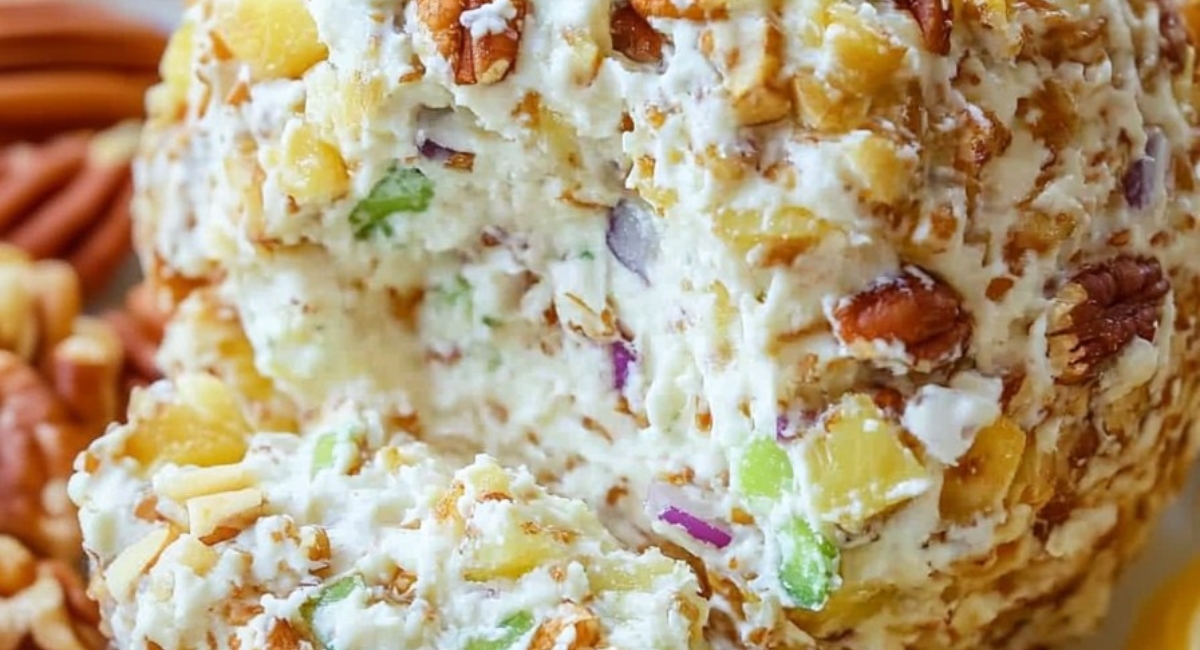
Welcome to the world of delightful appetizers, where the Pineapple Cheese Ball reigns supreme! This dish isn’t just a combination of cream cheese and pineapple; it’s a nostalgic favorite often gracing festive gatherings and holiday feasts. The Pineapple Cheese Ball is a delightful blend of sweet and savory flavors, punctuated with the crunch of walnuts and refreshing hints of green pepper and onion.
Originating from classic American recipes that elevate cheese spreads to star status, this dish represents the joy of sharing food among friends and family. The Pineapple Cheese Ball stands out with its easy preparation and stunning presentation. Imagine a beautiful golden ball glistening with crushed walnuts, inviting your guests to dive in. It's a guaranteed hit at parties, potlucks, and casual family gatherings.
What makes this dish even more special is its versatility. You can serve it with an array of colorful fresh vegetables, spiced crackers, or even as a spread for artisan breads. Whether you're hosting an elegant dinner party or simply enjoying a cozy evening in, this cheese ball will cater to all occasions. Armed with only a handful of ingredients and minimal prep time, you're in for a treat that delights the taste buds and warms the heart.
Ingredients
- For this delightful Pineapple Cheese Ball, gather the following:
- - 16 ounces of cream cheese, softened
- - 8 ounces of unsweetened crushed pineapple, thoroughly drained
- - 1/4 cup of green pepper, finely chopped
- - 2 tablespoons of onion, finely chopped
- - 2 teaspoons of seasoned salt
- - 1 1/2 cups of walnuts, finely chopped
- - Assorted crackers for serving
- - Fresh vegetables, like carrots, celery sticks, and bell pepper strips for serving
- Variations and Substitutions:
- Feel free to get creative with the ingredients! Instead of unsweetened crushed pineapple, you might try diced fresh pineapple for an extra burst of flavor. If you're looking for a twist, consider adding some chopped fresh herbs like dill or chives to infuse a refreshing note. For a kick, sprinkle in some cayenne pepper or diced jalapeños to satisfy those who love spicy foods. If you have nut allergies, sunflower seeds or pumpkin seeds make excellent alternatives that still provide that satisfying crunch.
Preparation Method
1. Soften cream cheese to room temperature or microwave for 10 seconds until soft.
2. Transfer cream cheese to a medium mixing bowl.
3. Add drained unsweetened crushed pineapple to the bowl.
4. Mix in finely chopped green pepper and onion.
5. Sprinkle in seasoned salt.
6. Blend ingredients with an electric mixer on medium speed until smooth and creamy.
7. Cover the bowl with plastic wrap and refrigerate for 30 minutes, checking after 15 minutes.
8. Shape the cheese mixture into a ball using plastic wrap.
9. Pour finely chopped walnuts onto a plate and roll the cheese ball in the walnuts.
10. Wrap the cheese ball in fresh plastic wrap and refrigerate overnight.
11. When ready to serve, unwrap the cheese ball and place it on a serving platter.
12. Surround with an assortment of crackers and fresh vegetable dippers.
Tips and Conclusion
For a fun and festive twist, consider adding a themed element to your cheese ball! During holidays, you can shape your cheese ball into a pumpkin for Halloween by dying some of the cream cheese orange with food coloring, or for Christmas, you can shape it into a Christmas tree and use green food coloring. Garnish with bits of red pepper or other colorful ingredients to create ornaments.
If you have leftovers (a rare occurrence, given how delicious this dish is!), store the cheese ball in an airtight container in the refrigerator. It will keep well for up to a week. Just bring it back to room temperature before serving again to ensure it's creamy and spreadable.
The Pineapple Cheese Ball is more than just a tasty appetizer; it’s an experience that brings people together. The process is filled with little moments of joy — from mixing the ingredients, shaping the ball, and imagining the smiles on your guests' faces as they indulge in this delightful dish. Whether it’s a festive gathering or a casual get-together, this cheese ball will undoubtedly be a conversation starter, invoking laughter and new memories.
Once you’ve mastered the Pineapple Cheese Ball, consider exploring other delicious recipes on our site! Try out our savory Jalapeño Cheese Ball for a spicy kick, or delve into sweet treats like our decadent Chocolate Truffle Cake for dessert. Don’t forget to share your kitchen adventures and this recipe with friends and family. Happy cooking, and may your gatherings be filled with love and laughter!


