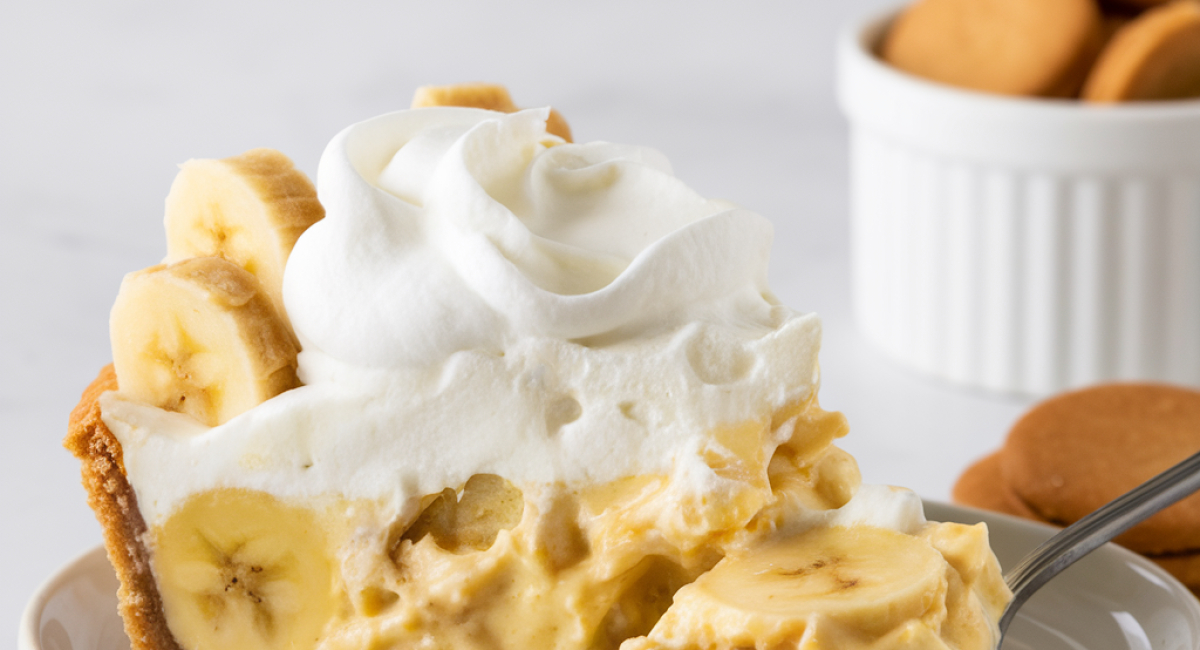
There's something truly comforting about a classic banana pudding, especially when it’s made creamy and luscious without the need for baking. This Creamy No-Bake Banana Pudding is a delightful dessert that brings together layers of sweet vanilla pudding, fresh bananas, and soft whipped cream, all nestled between crispy vanilla wafers. Originating from the Southern United States, this dessert has earned a special place in many hearts and homes, often served at family gatherings, potlucks, and holiday celebrations. What makes this recipe particularly special is its ease of preparation—there’s no oven required, making it perfect for warm days or busy schedules. It’s a nostalgic treat that reminds us of simpler times, and each spoonful is a delightful trip down memory lane.
Begin by gathering all your ingredients and ensuring that your workspace is tidy and organized. This will make the process smoother and more enjoyable.
In a large mixing bowl, combine the whole milk and heavy cream. Using a whisk or an electric mixer, blend them together until well combined. It’s important to use a large enough bowl since we will be adding more ingredients later. Once the milks are combined, gradually add the granulated sugar, whisking continuously until the sugar dissolves completely. This step is crucial for achieving a smooth pudding texture.
Next, add the instant vanilla pudding mix to your milk mixture. Whisk vigorously for about two minutes until the mixture thickens. You’ll notice that it will start to become creamy and luscious. The pudding should have a thick, velvety consistency, which is what you want.
Once the pudding has reached the desired consistency, stir in the vanilla extract. This will enhance the flavor and make your pudding taste even more delightful. Set the pudding aside for a moment while you prepare the rest of the components.
Now it’s time to assemble your dessert. Begin by selecting a large serving dish or individual cups, depending on how you want to serve it. If you’re planning to make a big batch to share, a trifle bowl or a large glass dish looks stunning and allows you to showcase the layers beautifully.
Start by laying down a layer of vanilla wafers at the bottom of your dish. These cookies will add a delightful crunch and absorb some moisture, which enhances the overall texture. After the first layer of cookies, add a generous layer of your creamy pudding over the wafers. Spread it evenly, ensuring every cookie is covered.
Now, it’s time to add the sliced bananas. Take your ripe bananas and slice them into thin rounds. Evenly distribute the banana slices over the pudding layer. The sweetness of the bananas pairs perfectly with the creamy pudding, creating a harmonious blend of flavors.
Repeat the layering process by adding another layer of vanilla wafers, followed by more pudding and another layer of banana slices. You can continue this process until you reach the top of your dish, ensuring that the last layer is pudding. This will create a stunning visual display of alternating layers.
Once you’ve reached the top, it’s time to whip up the topping. In a separate mixing bowl, pour in the heavy whipping cream. Using an electric mixer, beat the cream on medium-high speed until it begins to thicken. Gradually add the powdered sugar and vanilla extract, continuing to whip until the cream forms soft peaks. This should take about three to five minutes. Be careful not to over-whip, as you want a light and fluffy texture.
Spread the whipped cream over the top layer of pudding, smoothing it into an even layer. For an extra touch of elegance, you can pipe the whipped cream using a piping bag or simply dollop it on top. If you’re feeling adventurous, consider garnishing with a few extra banana slices or crushed vanilla wafers to add a decorative touch.
After the assembly is complete, cover the dish with plastic wrap and refrigerate for at least four hours, or ideally overnight. This resting time allows the flavors to meld beautifully and gives the wafers a chance to soften, creating a delightful texture that’s both creamy and crunchy.
When you’re ready to serve, remove the dish from the refrigerator and unveil the layers of deliciousness. Use a large spoon or spatula to scoop out portions, ensuring that you get a bit of everything in each serving—creamy pudding, sweet bananas, and crunchy wafers.
For a fun variation, consider adding a layer of chocolate to your banana pudding. Simply melt some semi-sweet chocolate and drizzle it over the pudding layer before adding the banana slices. This will create a delicious chocolate-banana combination that’s sure to impress. Additionally, if you have any leftovers (which might be rare), store them in an airtight container in the refrigerator for up to three days. The flavors will continue to develop, making each subsequent serving just as delicious as the first.
Preparing this Creamy No-Bake Banana Pudding is not only easy but also incredibly rewarding. The simple act of layering these delightful ingredients creates a dessert that’s as pleasing to the eye as it is to the palate. Each bite offers a perfect balance of creaminess, sweetness, and that nostalgic banana flavor that we all adore.
As you savor this lovely treat, you might find yourself reminiscing about family gatherings, summer picnics, or simple evenings at home. If you enjoyed this recipe, consider exploring other sweet delights on our site, such as a classic cheesecake or a rich chocolate mousse. Don’t forget to share this recipe with friends and family, and invite them to join you in the joy of creating and enjoying a delicious dessert together. Happy cooking!