Soda Cake

Description
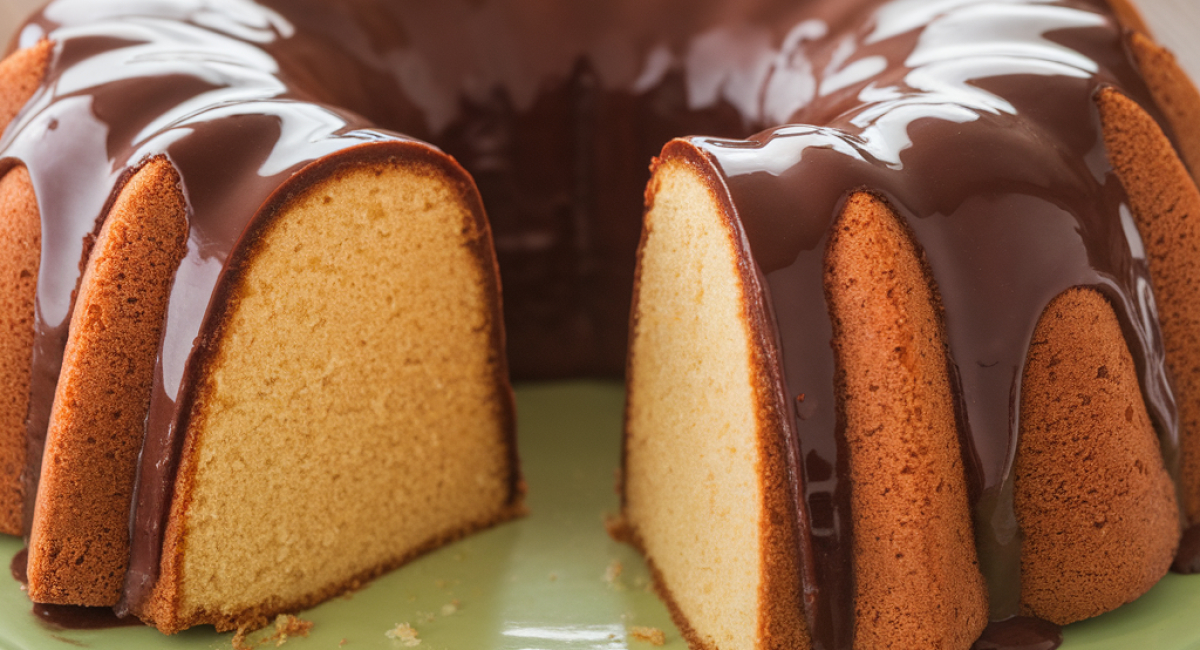
Soda cake is a delightful and whimsical dessert that has a special place in the hearts of many home bakers. Its roots can be traced back to the mid-20th century when the ingenious use of soda pop in baking became a popular trend. This unique cake stands out due to its moist texture and bubbly sweetness, which come from the incorporation of soft drinks, usually lemon-lime soda or cola, into the batter. The magic of soda cake lies in its simplicity and the ease with which it can be made, making it perfect for both novice bakers and seasoned chefs looking for a quick and rewarding treat.
What makes soda cake particularly special is that it can be customized with a variety of flavors and add-ins. Whether you prefer it plain, frosted, or adorned with fruits and nuts, this cake encourages creativity and experimentation. The end result is a tender, sweet cake that is sure to impress at any gathering, from birthday parties to casual family dinners. Imagine serving a slice of this delightful cake, bursting with flavor and sweetness, to your loved ones, while they marvel at how something so delicious can be so easy to make.
Ingredients
- For the cake:
- 2 cups all-purpose flour
- 1 cup granulated sugar
- 1 teaspoon baking soda
- 1/2 teaspoon salt
- 1 cup lemon-lime soda (like Sprite or 7-Up)
- 1/2 cup vegetable oil
- 3 large eggs
- 1 teaspoon vanilla extract
- For the frosting (optional):
- 1 cup unsweetened cocoa powder
- 1/2 cup unsalted butter, softened
- 4 cups powdered sugar
- 1/4 cup milk
- 1 teaspoon vanilla extract
- For variations and add-ins:
- 1 cup chopped nuts (like walnuts or pecans)
- 1 cup chocolate chips
- 1 cup shredded coconut
- 1 cup fresh or frozen berries
Preparation Method
Tips and Conclusion
If you have any leftovers (though we doubt there will be!), store your soda cake in an airtight container at room temperature for up to three days. For longer storage, you can refrigerate it for up to a week or freeze it for several months. To freeze, wrap the cake tightly in plastic wrap and then in aluminum foil to prevent freezer burn. When you’re ready to enjoy it again, simply thaw it in the refrigerator overnight.
For a fun variation, try experimenting with different flavors of soda. Root beer or orange soda can create a unique twist on this classic recipe. You can also substitute the vanilla extract with almond or lemon extract for a refreshing change.
Baking a soda cake is not just about following a recipe; it’s about creating joyful memories in the kitchen and sharing them with the people you love. From the delightful aroma that fills your home while it bakes to the joy of enjoying a slice (or two) with friends and family, this cake is truly a treasure.
Now that you have mastered the art of soda cake, why not explore other delightful recipes on our site? You might enjoy trying your hand at a classic chocolate cake or a zesty lemon drizzle cake next. Don’t forget to share this recipe with your friends and family, inviting them to join in the fun of baking. Happy baking, and may your kitchen always be filled with love and laughter!


