Caramelitas
Description
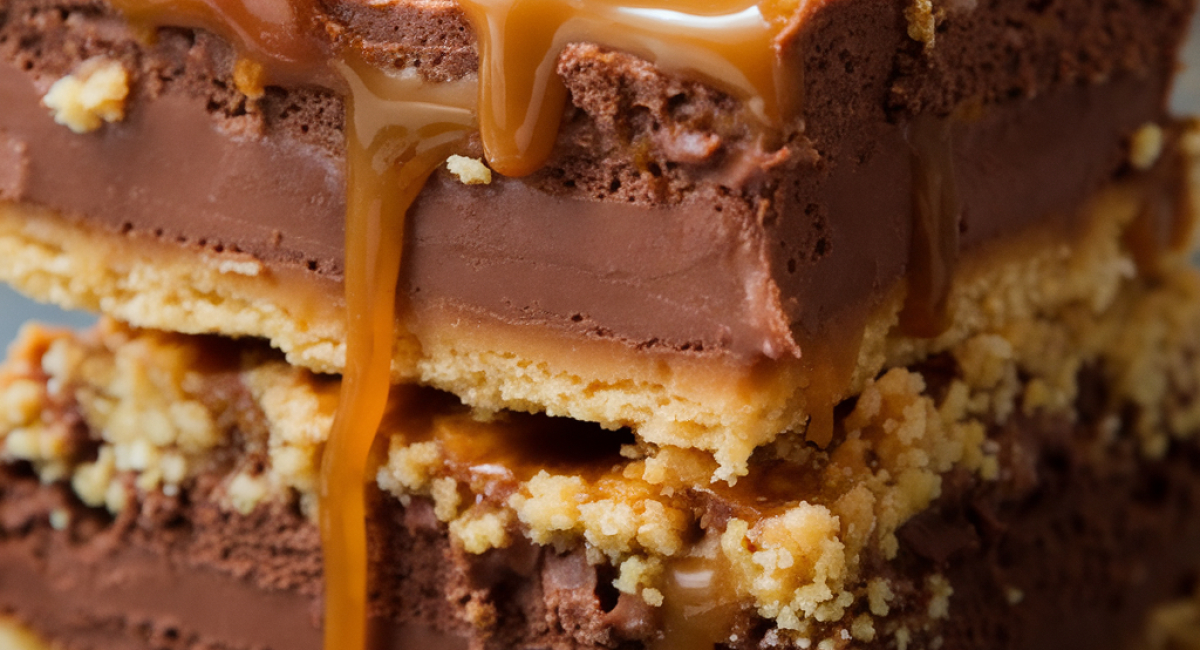
Imagine sinking your teeth into a warm, gooey treat that perfectly balances crunchy, buttery layers of oats with a rich, molten caramel layer and a sprinkle of chocolate. That's the magic of Caramelitas! This indulgent dessert is more than just a sweet bite; it's an experience that weaves together nostalgia and comfort with every crumb. Originating as a twist on classic caramel desserts, Caramelitas embody the spirit of homemade treats that bring families together.
The layers of this dessert create an intriguing textural experience. The base is made from old-fashioned oats, contributing a rustic charm and heartiness that complements the sweetness of the caramel and creaminess of the chocolate. Plus, they are surprisingly easy to make! Whether you’re an experienced baker or just starting in the kitchen, this recipe invites everyone to create a delicious masterpiece.
These delightful bars are perfect for sharing with friends, loved ones, or just for when you're cozying up with a good book. So, let’s dive into making these scrumptious Caramelitas that will surely be a hit at any gathering!
Ingredients
- To create your delicious Caramelitas, you'll need the following ingredients:
- For the Oat Mixture:
- Unsalted butter: 1 cup (2 sticks), melted
- Brown sugar: 1 cup (packed)
- All-purpose flour: 1 cup
- Old-fashioned oats: 2 cups
- Baking soda: 1 teaspoon
- For the Caramel Layer:
- Baking caramels: 14 ounces (about 1 bag)
- Heavy cream: 1/4 cup
- For the Topping:
- Chocolate chips: 1 cup (semi-sweet or milk chocolate, or a mix)
- Feel free to experiment with substitutions or variations! For a nutty twist, consider adding chopped nuts like pecans or walnuts to the oat mixture. If you're a fan of dark chocolate, swap out the semi-sweet chips for dark chocolate chunks.
Preparation Method
1. Preheat the oven to 350°F (175°C).
2. Grease or line an 8x8-inch baking dish.
3. In a saucepan, combine baking caramels and heavy cream over low to medium heat, stirring until melted and smooth. Set aside.
4. In a large bowl, mix melted unsalted butter and brown sugar until creamy.
5. Add all-purpose flour, oats, and baking soda to the butter mixture and stir until crumbly.
6. Press half of the oat mixture into the bottom of the prepared baking dish and bake for 10 minutes.
7. Allow the crust to cool slightly, then add chocolate chips evenly on top.
8. Drizzle the melted caramel over the chocolate chips.
9. Crumble the remaining oat mixture over the caramel layer.
10. Bake for an additional 18-20 minutes until golden brown and bubbly.
11. Let the Caramelitas cool completely in the baking dish before slicing. For cleaner edges, refrigerate for at least 30 minutes before cutting.
Tips and Conclusion
Here’s a bonus tip to elevate your Caramelitas experience! If you plan on serving these bars for a party or gathering, drizzle some melted chocolate over the top once they have cooled. This adds an extra layer of indulgence and a beautiful presentation that’s bound to impress your guests. For an even fancier touch, sprinkle a bit of sea salt on top of the warm caramel before adding the oat crumble; this creates a delightful sweet and salty flavor that will have everyone coming back for more.
Storing your Caramelitas is easy too! Keep them in an airtight container at room temperature for up to a week. If you want to extend their freshness, refrigerate them for up to two weeks. Just be sure to bring them to room temperature before serving, as they are at their best enjoyed soft and gooey.
Making Caramelitas is an incredibly rewarding kitchen endeavor that combines simple ingredients into an extraordinary dessert. The whole experience, from the melting caramel to the warm, golden topping, is bound to bring a smile to your face and joy to those who share in its deliciousness.
Once you’ve savored your Caramelitas, why not explore more delightful recipes? Consider trying your hand at classic chocolate chip cookies or a comforting apple crisp. Each recipe on our site invites you to dive deeper into the world of baking and cooking, uncovering new flavors and techniques that will enhance your culinary skills.
Don't forget to share your Caramelitas adventure with friends and family! Whether you’re hosting a gathering or simply enjoying a cozy night in, everyone deserves a taste of this delectable treat. Happy baking, and see you again for more sweet and savory delights!