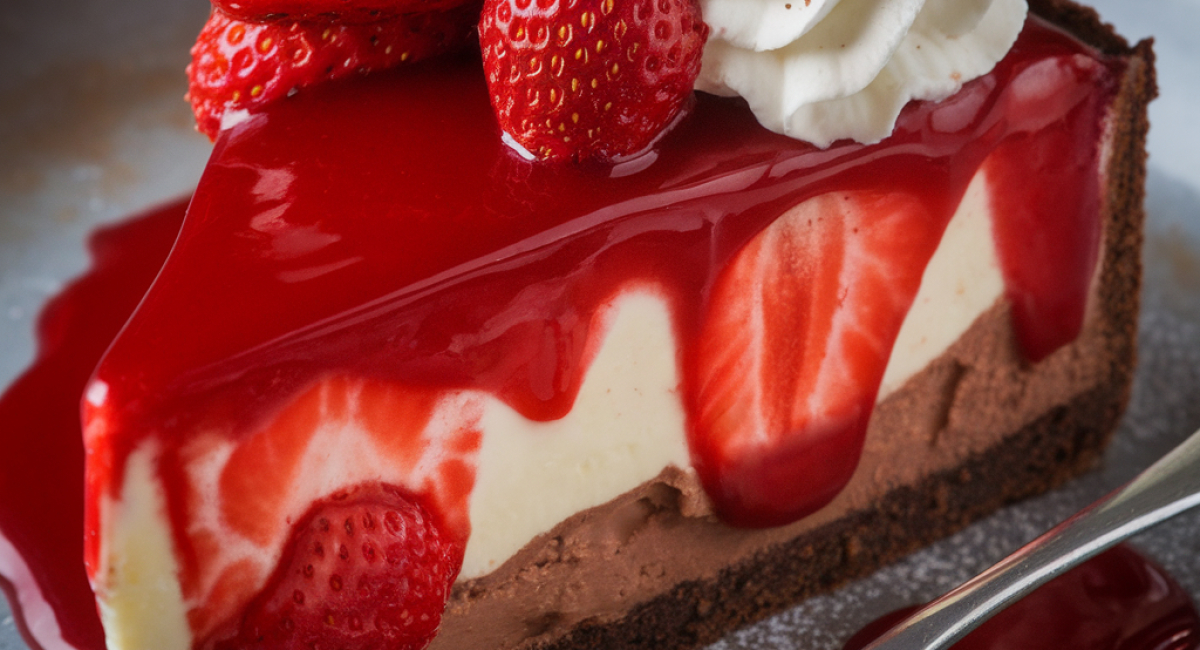
Red Velvet Strawberry Cheesecake

Description
Red Velvet Strawberry Cheesecake is a divine dessert that beautifully marries the lush flavors of chocolatey red velvet with the refreshing taste of strawberries. This delectable treat combines the rich, velvety texture of traditional red velvet cake with a creamy, luscious strawberry cheesecake filling that’s sure to tantalize your taste buds.
Originating from the deep South, the red velvet cake has become a beloved classic, celebrated for its striking red color and its sophisticated flavor profile, enhanced by the subtle hint of cocoa. When paired with fresh strawberries, this dessert transforms into an extraordinary experience that feels both indulgent and refreshing—a perfect choice for celebrations, family gatherings, or just a special treat to brighten your day.
Creating this scrumptious cheesecake doesn’t require advanced baking skills, making it accessible for both novice bakers and seasoned chefs. The process may take a little time—especially with the chilling—but the results are worth every minute. With its rich colors and vibrant flavors, this dessert is not just about eating; it’s about creating an experience that you, your family, and friends will cherish.
Let’s dive into the step-by-step process of making this stunning Red Velvet Strawberry Cheesecake, which is sure to earn you rave reviews and requests for seconds!
Ingredients
- For the Red Velvet Cake:
- 1 ½ cups all-purpose flour
- 1 cup granulated sugar
- 1 teaspoon baking powder
- 1 teaspoon baking soda
- ½ teaspoon salt
- 1 tablespoon cocoa powder
- 1 cup vegetable oil
- 1 cup buttermilk, at room temperature
- 2 large eggs, at room temperature
- 2 tablespoons red food coloring
- 1 teaspoon vanilla extract
- 1 teaspoon white vinegar
- For the Strawberry Cheesecake Filling:
- 16 oz cream cheese, softened
- 1 cup powdered sugar
- 1 teaspoon vanilla extract
- 1 cup fresh strawberries, pureed (about 8-10 strawberries)
- 1 cup heavy whipping cream
- For Topping:
- Fresh strawberries, halved
- Whipped cream (optional)
- *Substitutions and Variations*:
- Feel free to get creative with your ingredients! For a healthier option, consider substituting the all-purpose flour with a gluten-free blend, or use Greek yogurt instead of cream cheese for a lighter filling. If you do not have buttermilk, you can easily make your own by combining regular milk with a tablespoon of vinegar or lemon juice and allowing it to sit for 5-10 minutes. And, if strawberries aren’t your favorite, you can experiment with other fruits, like raspberries or blueberries, for a delicious twist.
Preparation Method
1. Preheat the oven to 350°F (175°C).
2. Grease a 9-inch springform pan and line the bottom with parchment paper.
3. In a large bowl, sift together flour, sugar, baking powder, baking soda, salt, and cocoa powder until combined.
4. In another bowl, whisk together vegetable oil, buttermilk, eggs, red food coloring, vanilla extract, and vinegar until smooth.
5. Gradually add the dry ingredients to the wet mixture, mixing gently until just combined.
6. Pour the batter into the prepared pan and smooth the surface.
7. Bake for 25-30 minutes or until a toothpick comes out clean.
8. While baking, prepare the strawberry cheesecake filling by creaming softened cream cheese until smooth.
9. Gradually mix in powdered sugar until well combined.
10. Add vanilla extract and pureed strawberries, folding gently until incorporated.
11. In a separate bowl, whip heavy cream until stiff peaks form.
12. Fold the whipped cream into the strawberry mixture until smooth.
13. Allow the cake to cool in the pan for 10-15 minutes, then remove and cool completely on a wire rack.
14. Place the cooled cake on a serving plate and spread the strawberry cheesecake filling on top.
15. Chill the cake in the refrigerator for at least 4 hours or overnight.
16. Serve garnished with fresh strawberries and whipped cream if desired.
Tips and Conclusion
For a special touch, consider adding a hint of lemon zest to your strawberry cheesecake filling to enhance the flavors further. This brightness can complement the sweetness of the strawberries beautifully. If you have leftovers, store the cake in an airtight container in the refrigerator. It will stay fresh for about 3-4 days—if it lasts that long!
Congratulations! You’ve just created a sumptuous Red Velvet Strawberry Cheesecake that’s as delightful to look at as it is to taste. The process of baking and chilling this dessert can feel like a labor of love, but believe me, the joy on your loved ones’ faces when they indulge in this treat will make it all worthwhile.
Don’t stop here! Explore other amazing recipes on our site that can pair perfectly with your cheesecake, like a creamy vanilla ice cream or a light fruit coulis. This red velvet strawberry cheesecake is just the beginning of your culinary adventures! Be sure to share your experiences with others and inspire them to join in on the fun. Happy baking!


