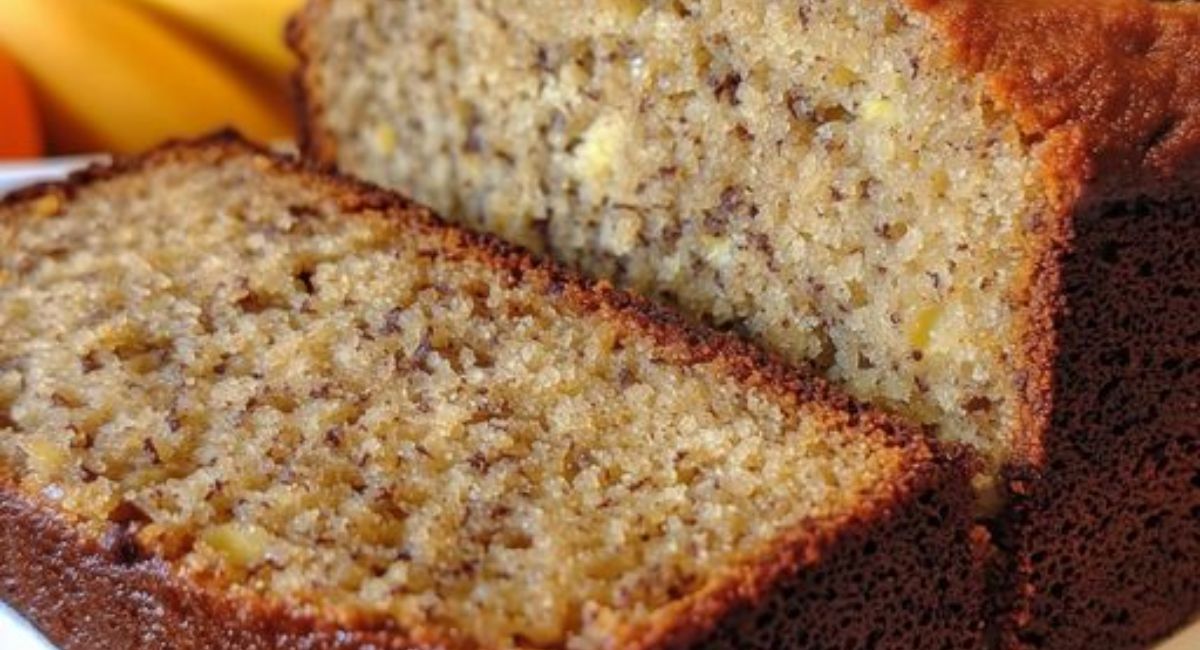
Rich Banana Bread |

Description
Banana bread has captured the hearts (and taste buds) of many, becoming a beloved classic in kitchens around the world. It is not just a recipe but a delightful journey filled with rich aromas wafting through your home as the bananas caramelize in the oven. Originating from the evolutionary phase of American home baking in the 1930s, banana bread has become a widespread favorite due to its simple preparation and ability to turn overripe bananas—those spotted, brownish fruits destined for the compost—into a moist, sweet loaf that beckons for both breakfast and dessert.
This Rich Banana Bread recipe is exceptionally special. With every bite, you will experience a perfect balance of sweetness from the ripe bananas and sugar, combined with the rich, creamy texture from the butter. The added complexity of toasted walnuts and sweet raisins not only ups the flavor game but provides delightful contrast in texture. Whether you're enjoying a slice fresh out of the oven, smeared with a pat of butter, or toasted to crispy perfection, this recipe promises comfort and satisfaction. Best of all, it's straightforward enough for novice bakers yet rewarding enough for seasoned pros. Get ready to embark on an enchanting baking adventure that will leave you with a mouthwatering loaf and a smile.
Ingredients
- To make this delightful loaf of Rich Banana Bread, gather the following ingredients:
- - 3 very ripe medium bananas, mashed (approximately 1¼ cups of mashed bananas)
- - ½ cup (1 stick) unsalted butter, softened to room temperature
- - ¾ cup granulated sugar
- - 2 large eggs, brought to room temperature
- - 1½ cups all-purpose flour
- - 1 teaspoon baking soda
- - ½ teaspoon salt
- - ½ cup raisins (optional; you can also use chocolate chips for a sweeter twist)
- - 1 cup walnuts, toasted, cooled, and coarsely chopped (or substitute pecans if preferred)
- - ½ teaspoon vanilla extract
- Feel free to customize your banana bread by incorporating other ingredients! Consider adding spices like cinnamon or nutmeg for warmth, or swapping out the walnuts for your favorite nuts like hazelnuts or almonds. You might even try incorporating shredded coconut or a touch of peanut butter for an exciting flavor profile.
Preparation Method
1. Preheat the oven to 175 degrees Celsius or 350 degrees Fahrenheit and prepare the loaf pan.
2. Grease a 9x5 inch loaf pan with butter and dust with flour.
3. Mash very ripe bananas in a large mixing bowl until smooth.
4. Add softened butter and sugar to the mashed bananas and cream together until light and fluffy.
5. Beat in eggs one at a time, ensuring each is fully mixed in.
6. In a separate bowl, whisk together flour, baking soda, and salt.
7. Stir the dry ingredients into the wet ingredients until just combined, avoiding overmixing.
8. Gently fold in raisins, chopped walnuts, and vanilla extract.
9. Pour the batter into the prepared loaf pan and smooth the top.
10. Bake for 55 to 60 minutes until a toothpick comes out clean.
11. Allow the banana bread to cool in the pan for 10 minutes.
12. Transfer to a wire rack to cool completely before slicing and serving.
Tips and Conclusion
For optimal freshness, store your banana bread in an airtight container at room temperature for up to four days. If you want to make it last longer, slice the loaf, wrap it tightly in plastic wrap, and freeze it for up to three months. This way, you can enjoy banana bread anytime! If desired, gently reheat slices in a toaster or microwave before serving.
Preparing this Rich Banana Bread is not just a culinary task; it’s a sensory experience that engages your taste, smell, and touch. The warm, comforting scent that fills your kitchen, the enticing golden crust, and the soft, moist inside are all part of the joy. Each slice brings the sweet taste of ripe bananas mixed with the texture of toasted walnuts and the chewiness of raisins, creating delight in every bite.
Once the banana bread is prepared and enjoyed, why not expand your baking repertoire? Consider trying variations of this recipe, such as Lemon Blueberry Bread or Chocolate Chip Zucchini Bread for a fun spin on the traditional loaf. Feel free to share your creations with friends and family or explore more delicious recipes on our site to enhance your baking skills. Happy baking, and may your kitchen be filled with delightful aromas and warm memories!


