Lunch Lady Brownies
Description
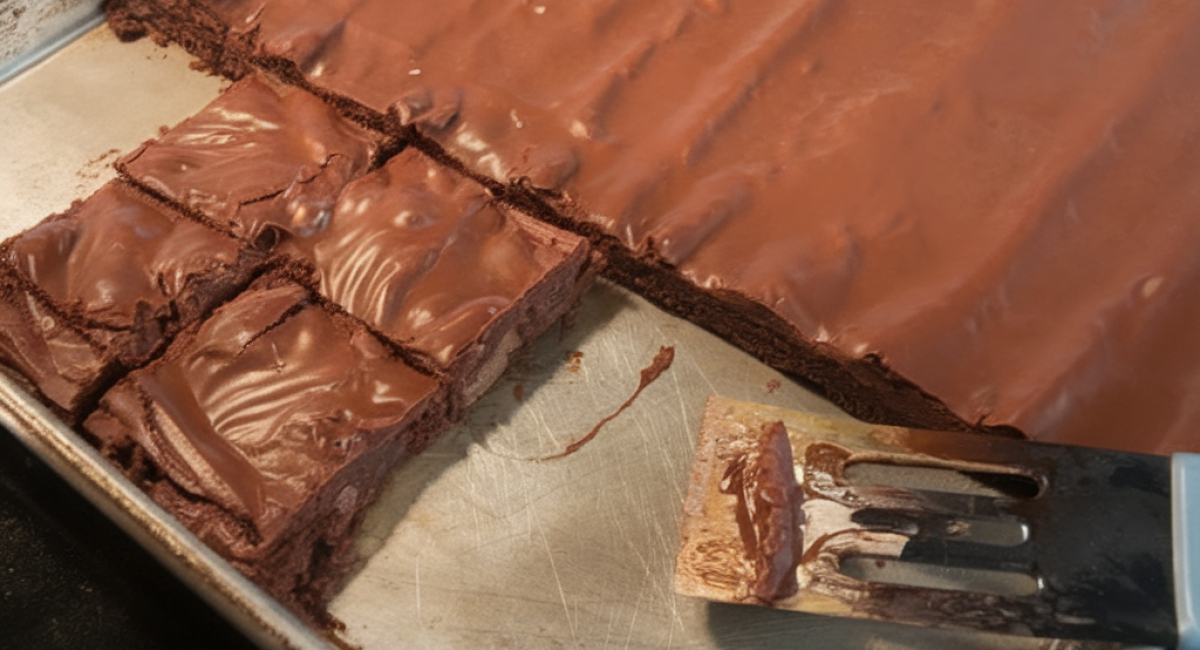
Lunch Lady Brownies are the nostalgic dessert that takes many of us back to our school days, where chocolatey treats awaited us in the cafeteria. These fudgy, decadent brownies are simple to make and possess that perfect balance between cakey and chewy. The magic of Lunch Lady Brownies lies not only in their rich chocolate flavor and moist texture but also in their easy preparation which makes them an ideal choice for baking novices and seasoned chefs alike.
No one can resist the allure of a warm brownie fresh from the oven, especially when it’s finished with a glossy chocolate frosting. This delightful treat is perfect for any occasion, be it a cozy family gathering, a children’s birthday party, or even just a rainy afternoon when you need a little pick-me-up. As the name suggests, they evoke warm memories of school days filled with laughter and shared meals, making them a beloved favorite in many households across the country.
Not only are these brownies delicious, but they also provide a wonderful opportunity to engage the family in the kitchen. Baking these tasty morsels will create an experience that everyone can enjoy—from licking the mixing spoon and watching them bake to savoring every gooey bite. So, roll up your sleeves, and let’s get started on making these unforgettable Lunch Lady Brownies!
Ingredients
- For the Brownies:
- - 1/2 cup unsalted butter, melted
- - 1 cup granulated sugar
- - 2 large eggs
- - 3 teaspoons vanilla extract
- - 1/4 cup unsweetened cocoa powder
- - 1 cup all-purpose flour
- For the Frosting:
- - 2 tablespoons unsalted butter, softened
- - 3 tablespoons milk
- - 2 tablespoons unsweetened cocoa powder
- - 1 1/2 cups powdered sugar
- Substitutions & Variations:
- You can easily modify this recipe to cater to your preferences. For a richer flavor, consider using dark chocolate cocoa powder instead of regular unsweetened cocoa powder. If you’re looking for vegan alternatives, swap the butter for coconut oil or a plant-based butter substitute, and use flax eggs instead of regular eggs. You can even add crushed walnuts or pecans into the brownie batter for an extra crunch or throw in chocolate chips for that double chocolate experience!
Preparation Method
1. Preheat your oven to 350 degrees Fahrenheit.
2. Line a 9x9 baking pan with foil, allowing it to extend over the edges, and optionally spray it with non-stick cooking spray.
3. In a medium bowl, mix melted butter and granulated sugar until light and well combined.
4. Add eggs one at a time, mixing well after each addition, then stir in vanilla extract.
5. Sift together flour and cocoa powder, then gradually mix into the wet ingredients until just combined.
6. Pour the batter into the prepared pan and spread it evenly.
7. Bake for 20 to 25 minutes until a toothpick inserted comes out mostly dry.
8. While baking, prepare the frosting by mixing softened butter, milk, cocoa powder, and powdered sugar until smooth. Adjust consistency as needed.
9. Allow brownies to cool for 10 minutes before spreading the frosting on top.
10. Let brownies cool completely in the pan, then lift them out using the foil and cut into squares.
Tips and Conclusion
For a delightful twist, consider adding toppings to your brownies after frosting! Sprinkling chopped nuts, mini marshmallows, or drizzles of caramel or chocolate sauce can elevate this classic treat to a whole new level. Additionally, if you’re feeling adventurous, try adding a dash of espresso powder into the brownie batter for a coffee-infused delight.
When it comes to storing your brownies, you can keep them in an airtight container at room temperature for up to three days. To extend their life, you can refrigerate them, where they will last for about one week. These brownies also freeze beautifully! Just slice and layer between parchment paper in a sealed container, and they can last up to three months in the freezer. Perfect for those times you need a quick treat!
Making Lunch Lady Brownies is not just a culinary experience but also a trip down memory lane. From the delightful aromas wafting through the kitchen to the first bite of the gooey chocolate goodness, each moment spent creating these treats is filled with joy. The ease of preparation allows you to enjoy the process as much as the final product, making it a fantastic recipe for all skill levels.
As you savor the delectable taste of these brownies, remember that they are perfect on their own or paired with a scoop of ice cream for an indulgent dessert. If you love exploring different flavors, consider trying our recipe for Mini Chocolate Chip Cookies or a classic Banana Bread. Sharing these delightful recipes with friends and family can bring everyone together in the spirit of baking and bonding.
Now, armed with the love and knowledge for making these scrumptious Lunch Lady Brownies, it's time to gather your ingredients and get baking! Don’t forget to let us know how they turn out or share your kitchen adventures on social media. Happy baking!
